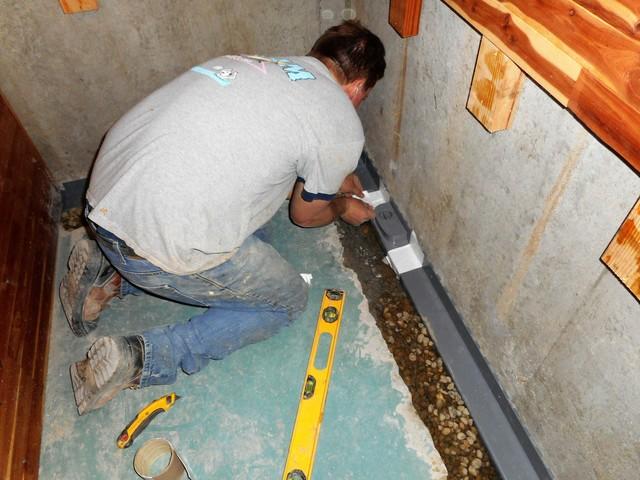
Installation Process
Our Crew Member Kyle hard at work.
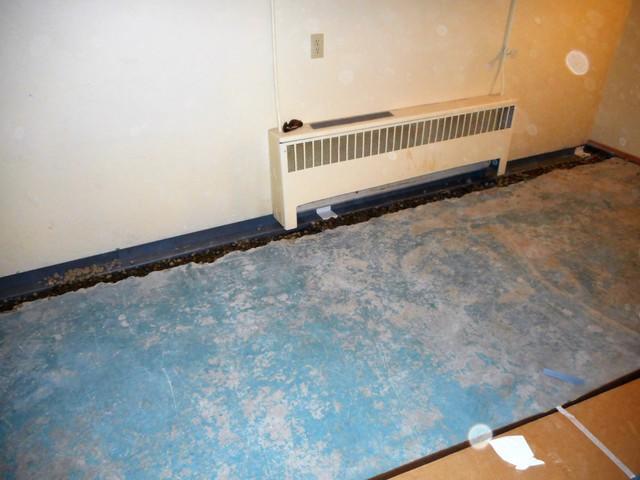
Waterguard System Install
A photo of our Waterguard System being installed in the exterior of the basement.
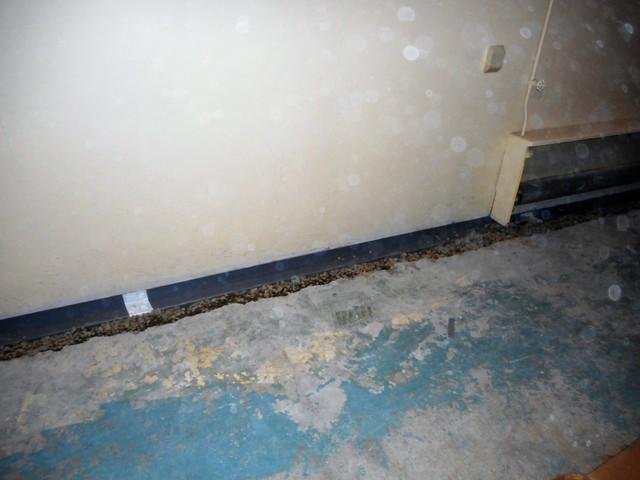
Attention to Detail
Another photo of our Waterguard System.
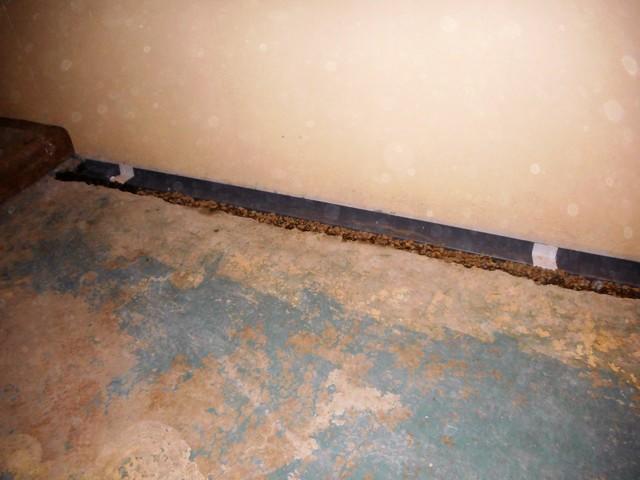
More Install of Waterguard
This was quite a large project!
Waterproofing Basement Experts
We only use quality product to resolve your basement issues.
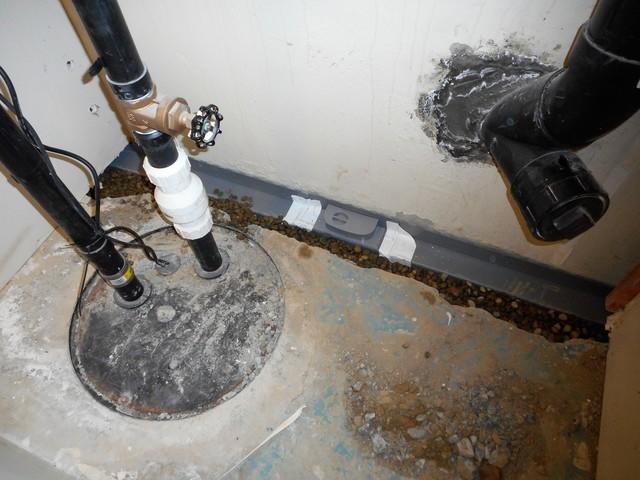
Sump Pump System
A picture of a sump pump install.
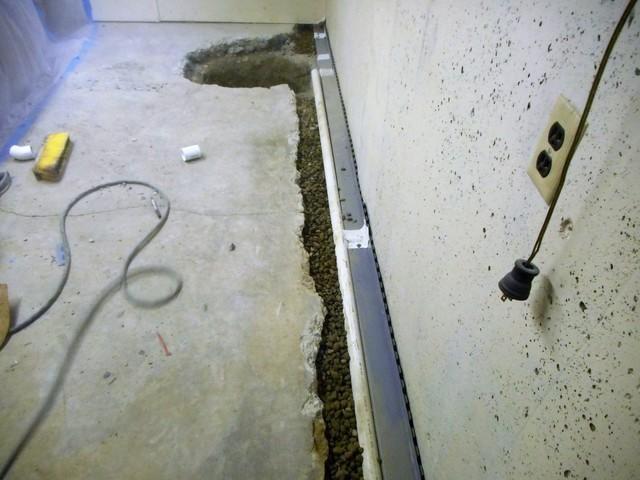
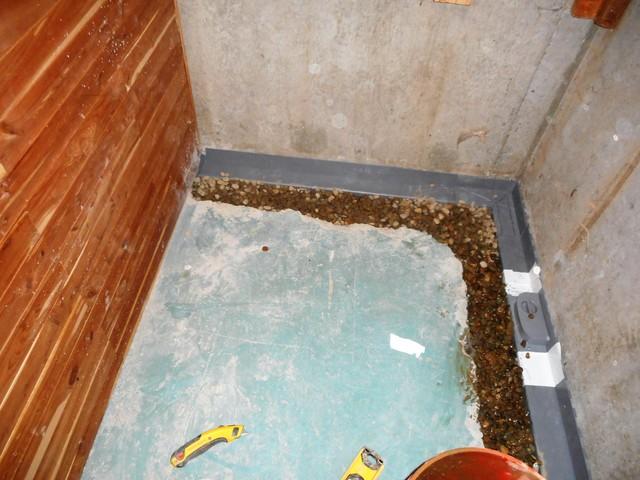
Sump Pit and Trench
A hole for the pump to go in and the beginning of the trench for our Waterguard System.

Making the Final Touches
Our Foreman Harley hard at work!
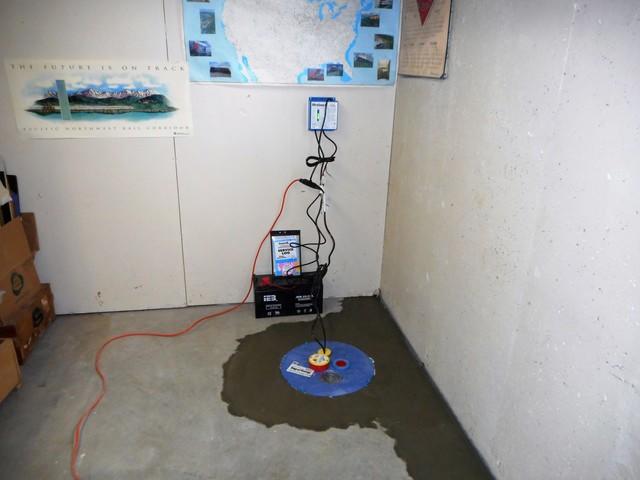
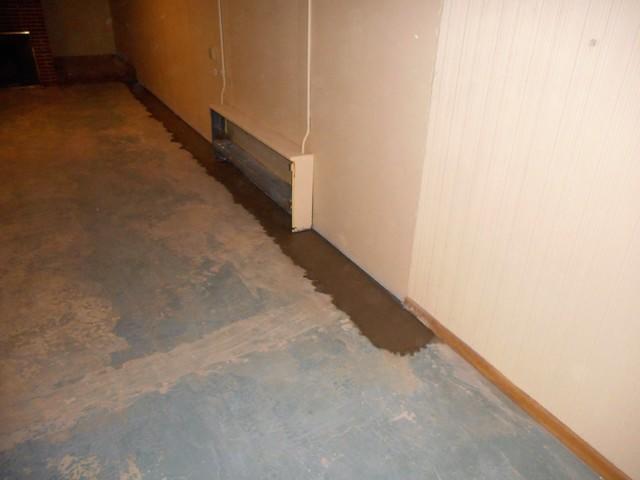
Sump Pump Installed
The final results looked great!
Trenching Re-covered
We needed to make the basement normal again.
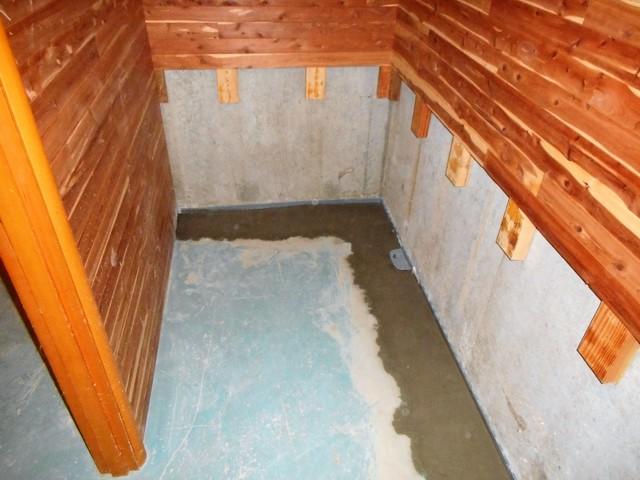
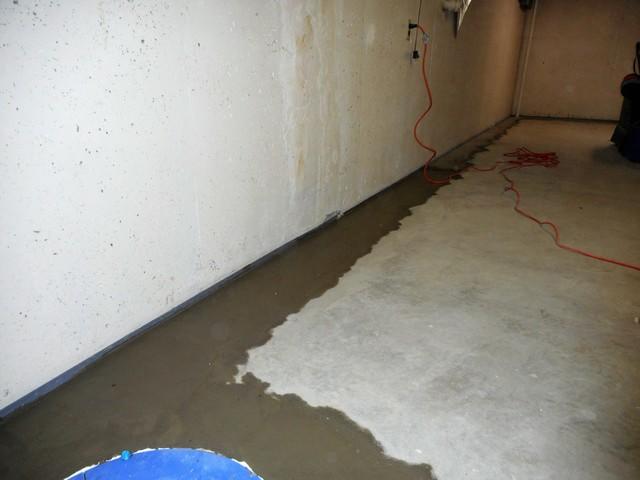
Waterguard Product
We installed the Waterguard System beneath concrete.
More Waterguard Installation
Our team made sure to cover all aspects so that no leaks further appear during the next storm.
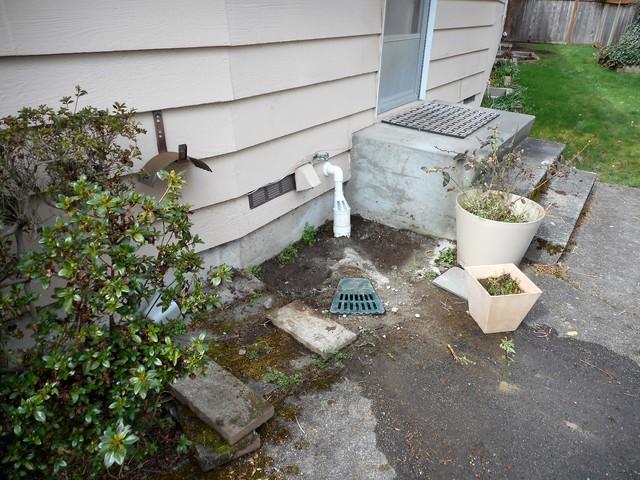
Lawnscape and Iceguard Install
The final step was the installation on the outside of the home.